Planning a trip to Seattle and not sure where to begin with your travel planning?
Allow me to share with you the full itinerary of what Charles and I ate, saw and did during our 4 day trip to Seattle this past October as a starting point in your travel planning.
Emphasis on starting point because you might not want to do everything we did which is totally ok.
Also, sharing a breakdown of our total travel expenses so you can have an idea on how much a trip like this might cost when traveling from the East Coast to Pacific Northwest.
Day 1:
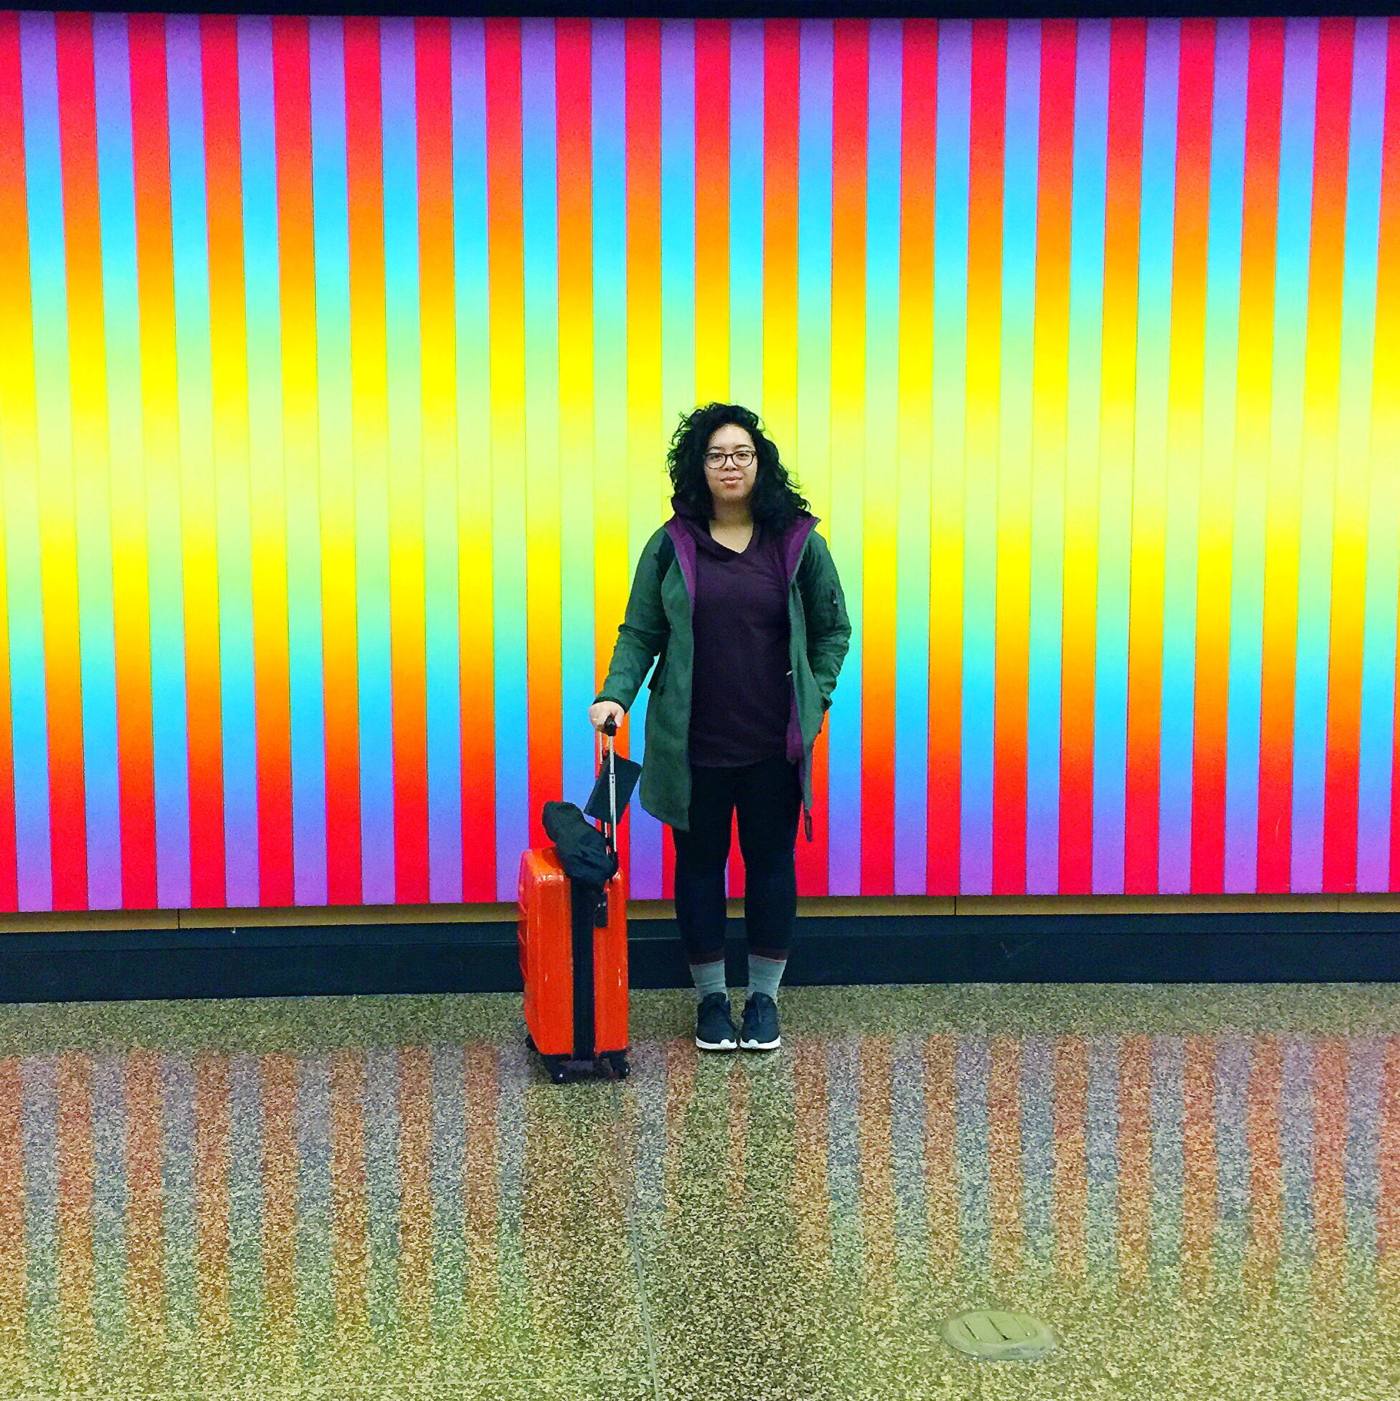
– Arrive at Seattle – Tacoma International Airport around 5pm
– Pick up your car rental
– Check into your accommodations
– Go grocery shopping a local grocery store – We got ingredients to cook breakfast at our Airbnb and snacks for all 4 days to help save on eating out expenses.
– Grab dinner at Dick’s Drive In, a fast food restaurant chain local to Seattle. The “Dick’s Special Burger” was $2 and side of fries was $1.75 = a super yummy cheap eat in the city.

Day 2:
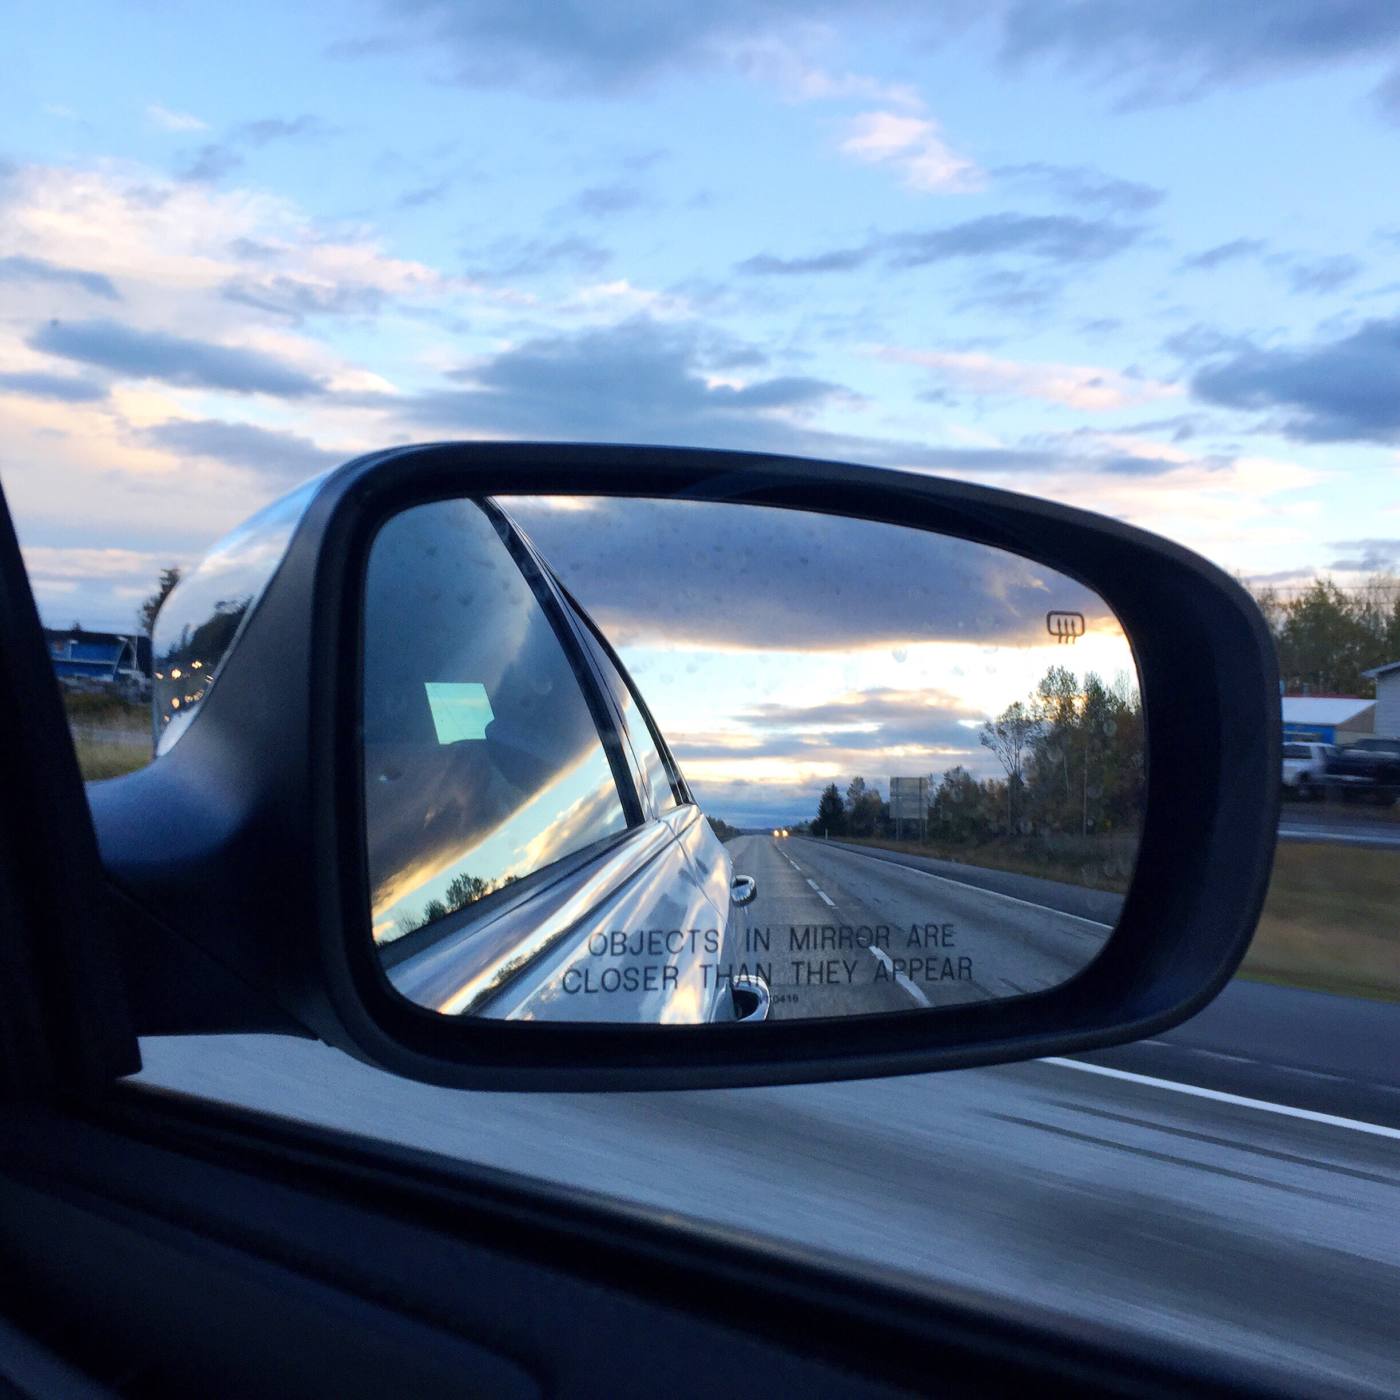
– Wake up early, hop in car rental and make the 3 hour drive across the Canadian border to Vancouver (passports required).
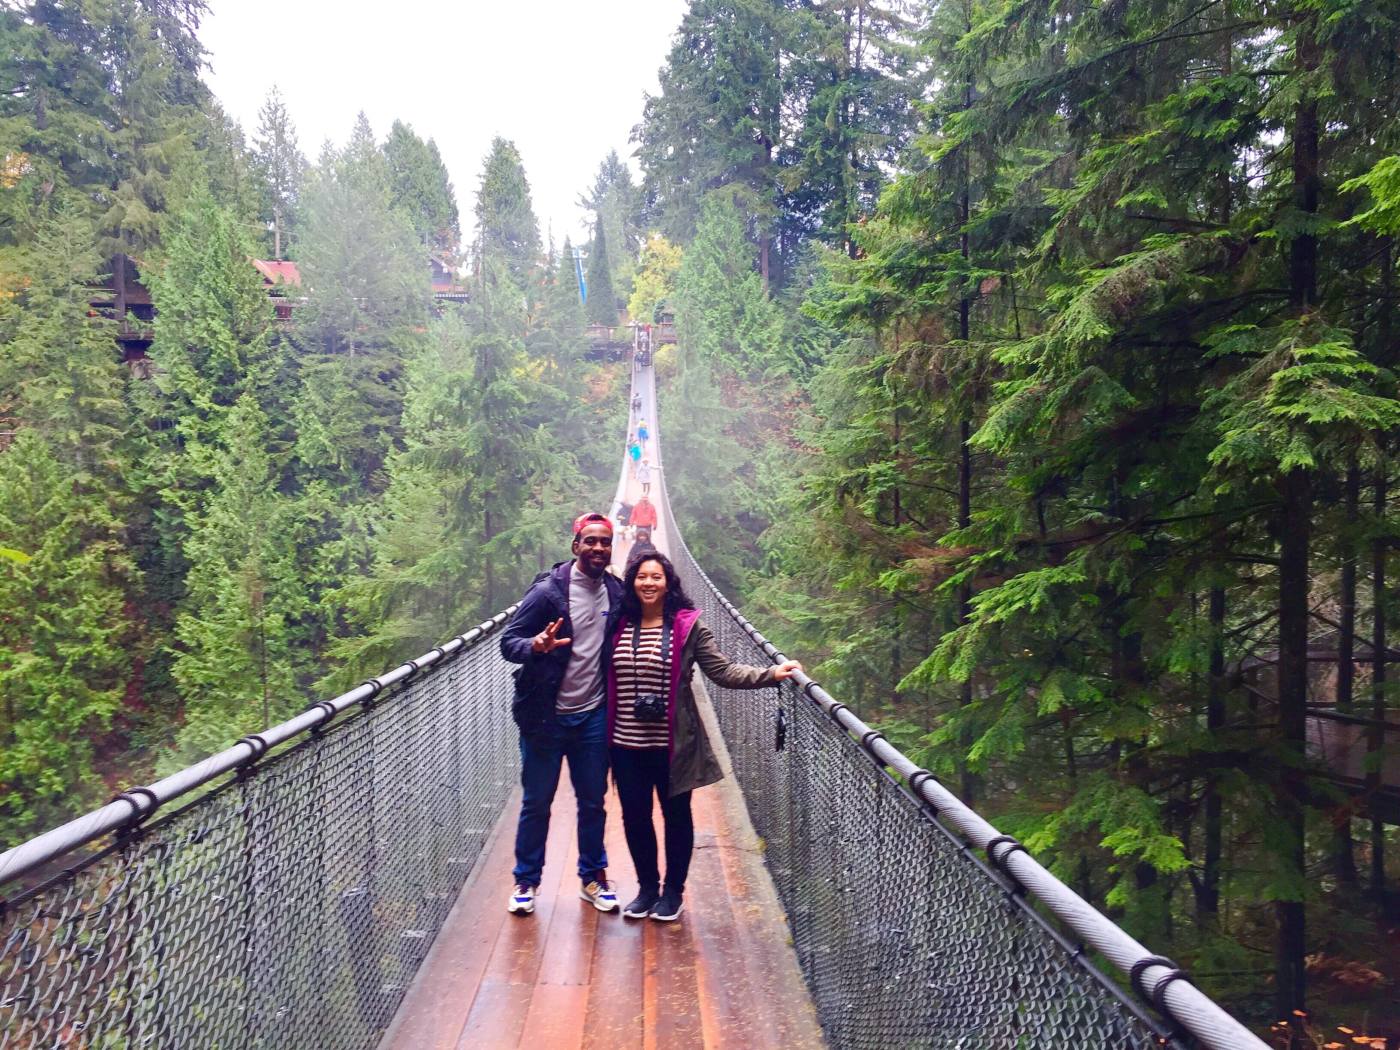
– Get one with nature and over your fear of heights at the Capilano Suspension Bridge Park.
– Take advantage of the $2.95 Breakfast Special at Bon’s Off Broadway.
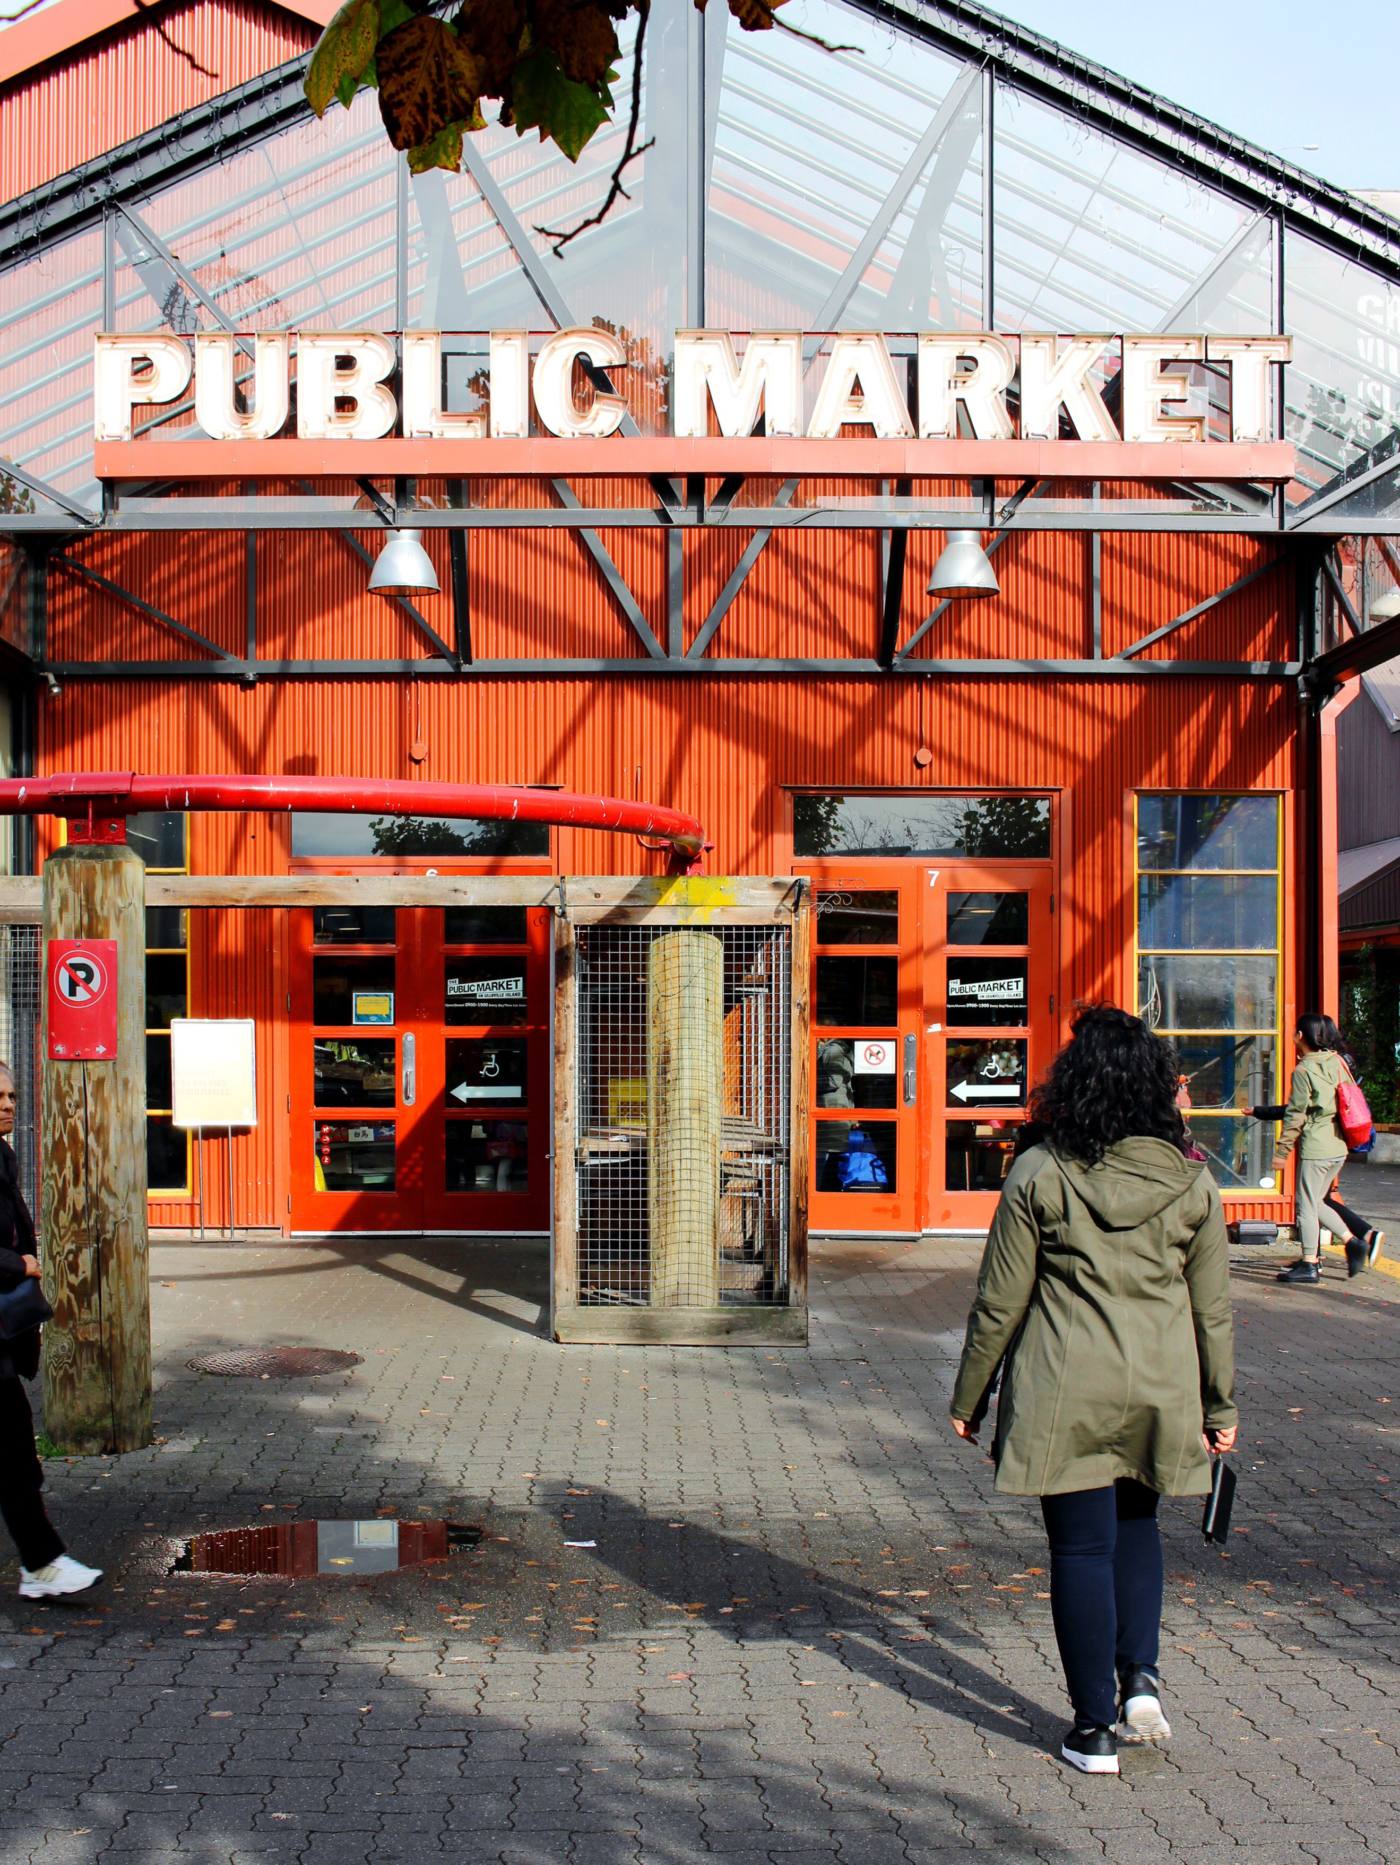
– Explore the local market at Granville Island’s Public Market.
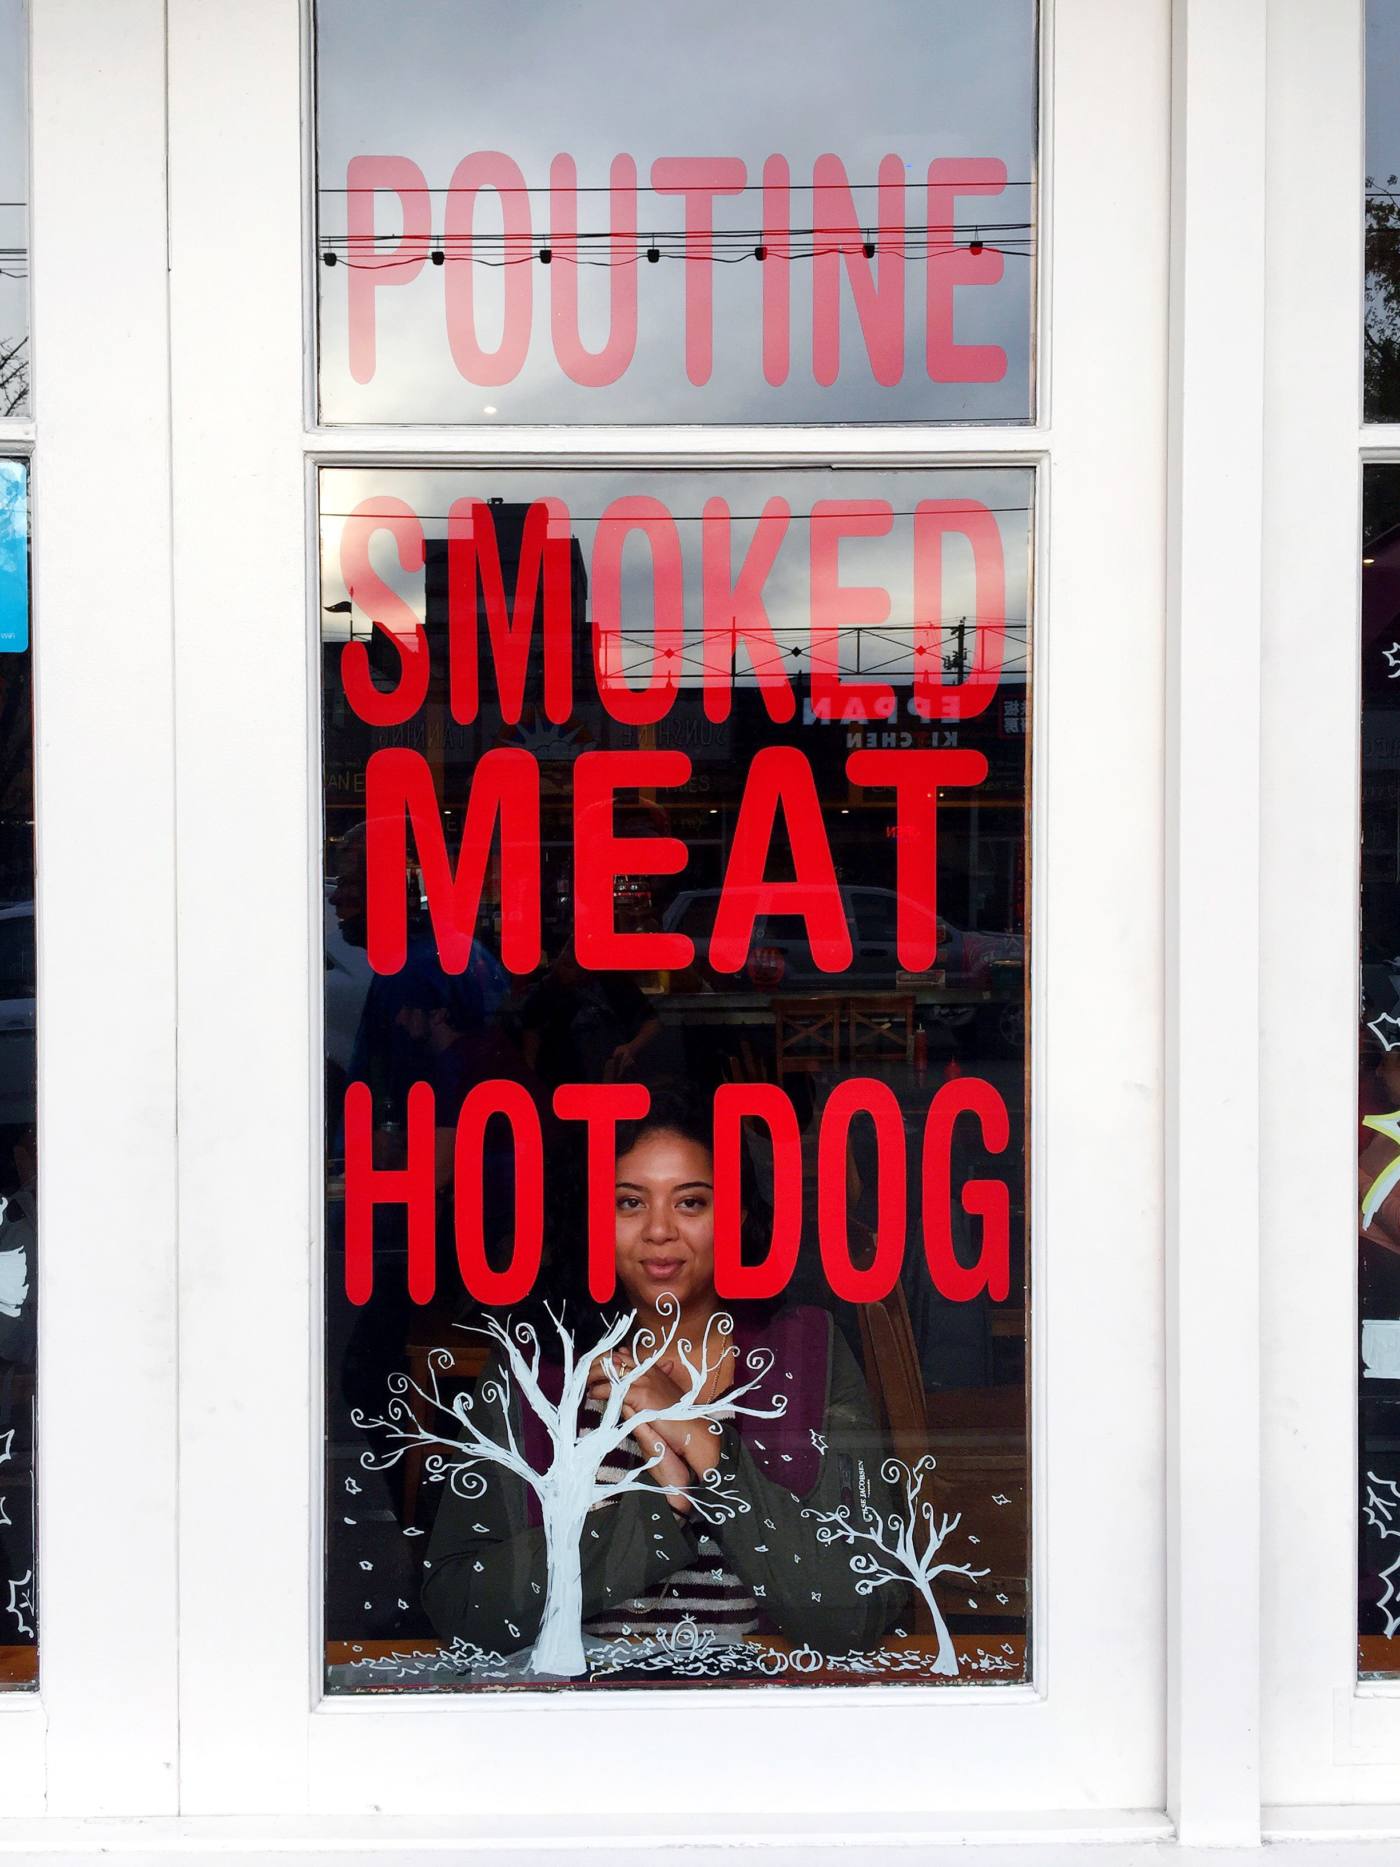
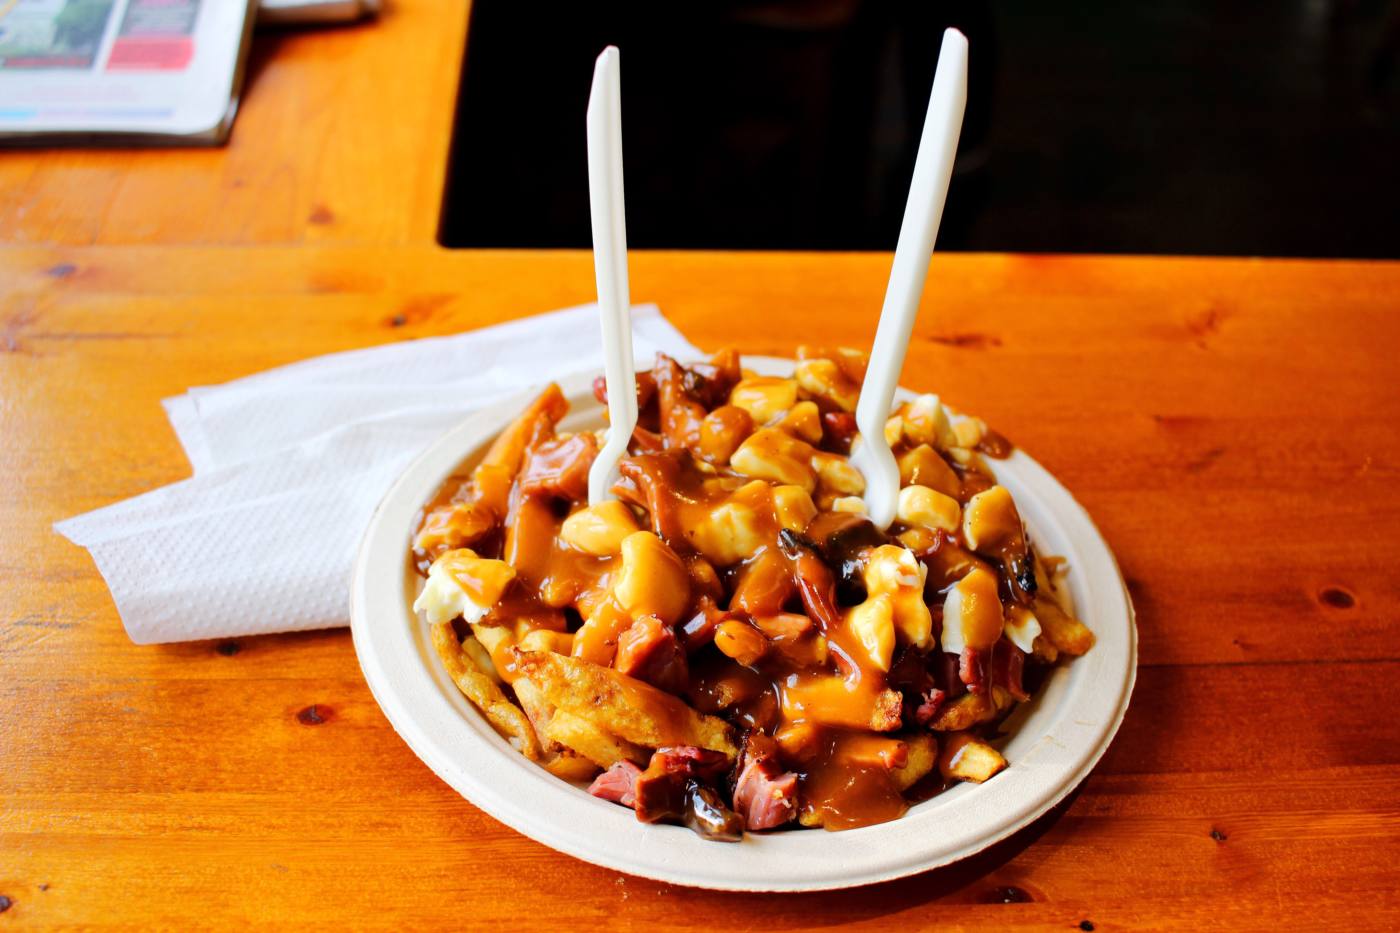
– Munch on the local cuisine, poutine, at La Belle Poutine.
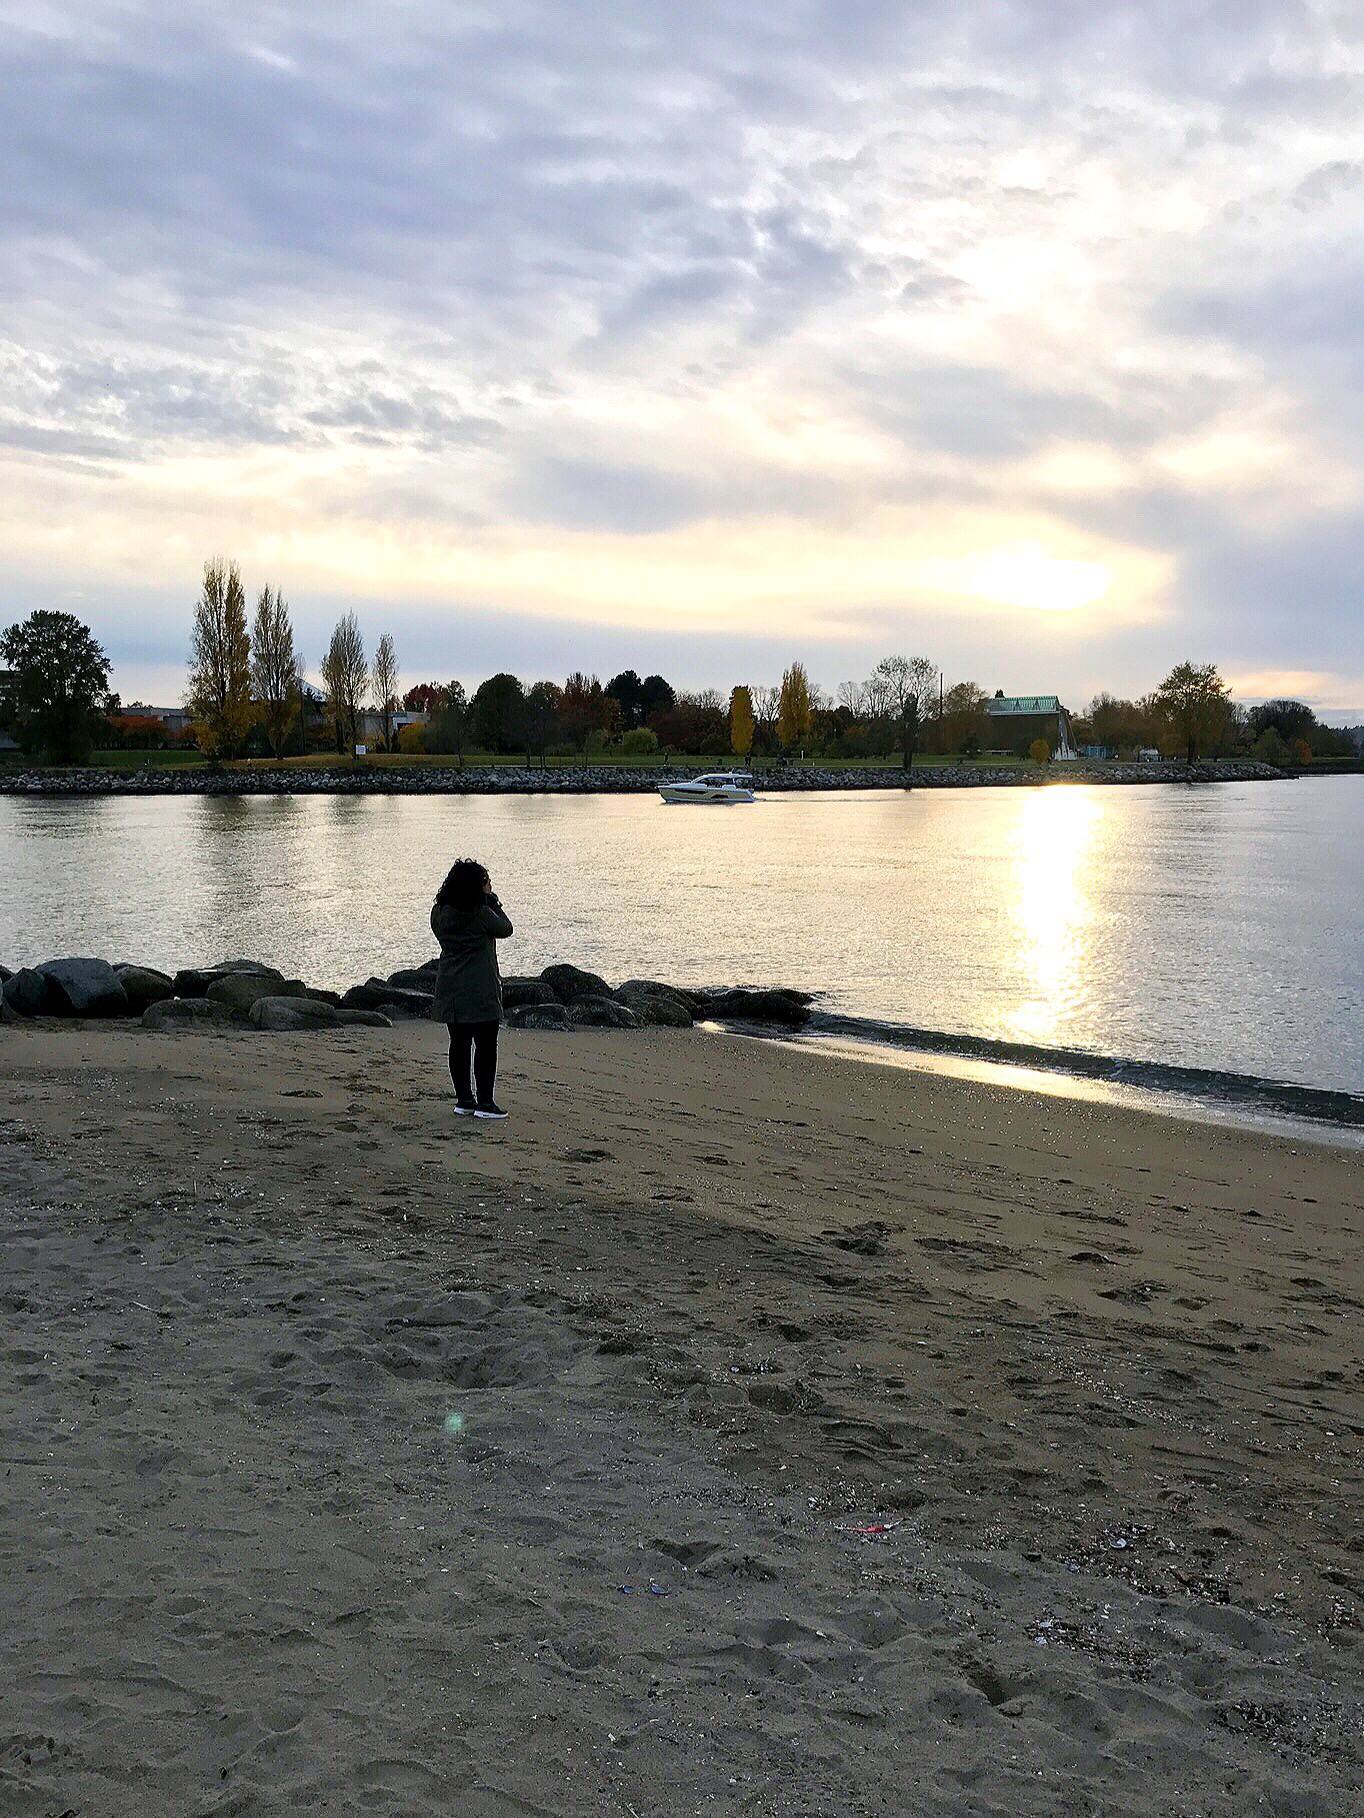
– Watch the sunset at Sunset Beach.
– Make the drive back to Seattle and get some sleep after a super busy day.
*** For more on our day trip to Vancouver, you read Part 1 here and Part 2 here.
Day 3:
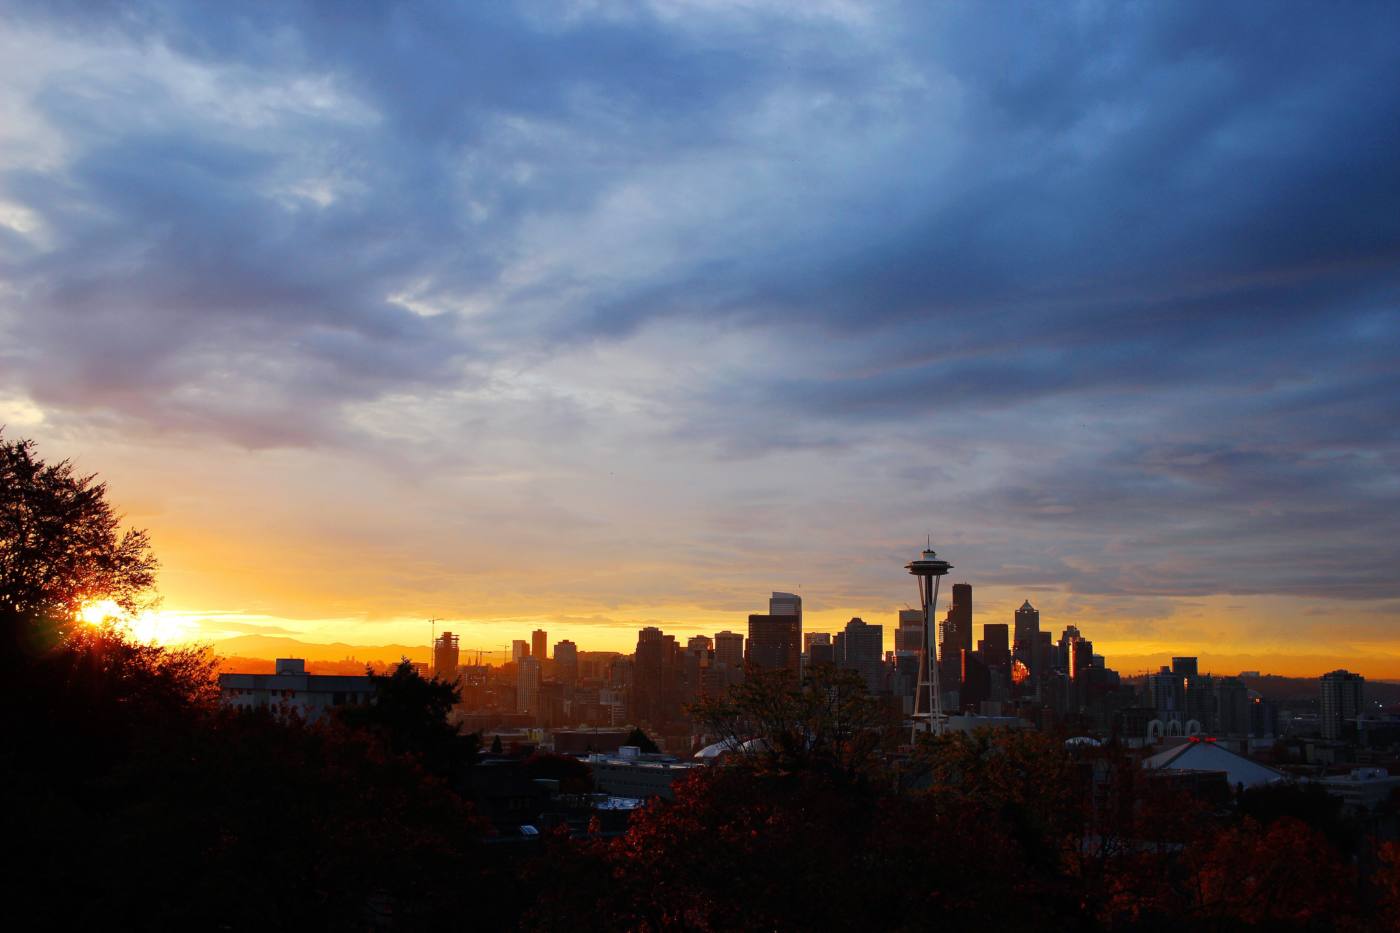
– Wake up at 6am and head over to Kerry Park to watch the sunrise over the Seattle Skyline.
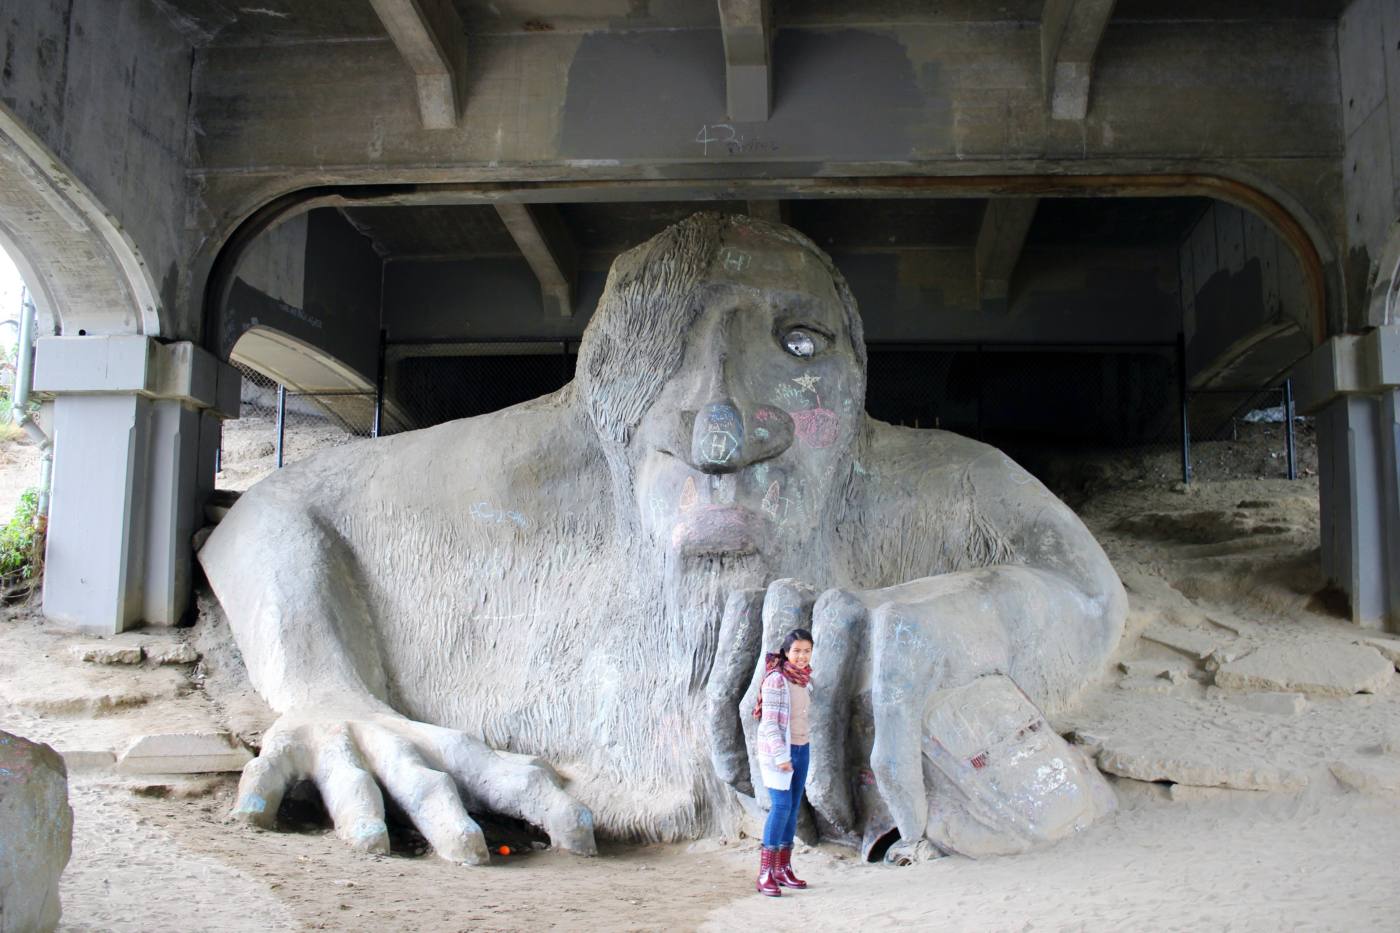
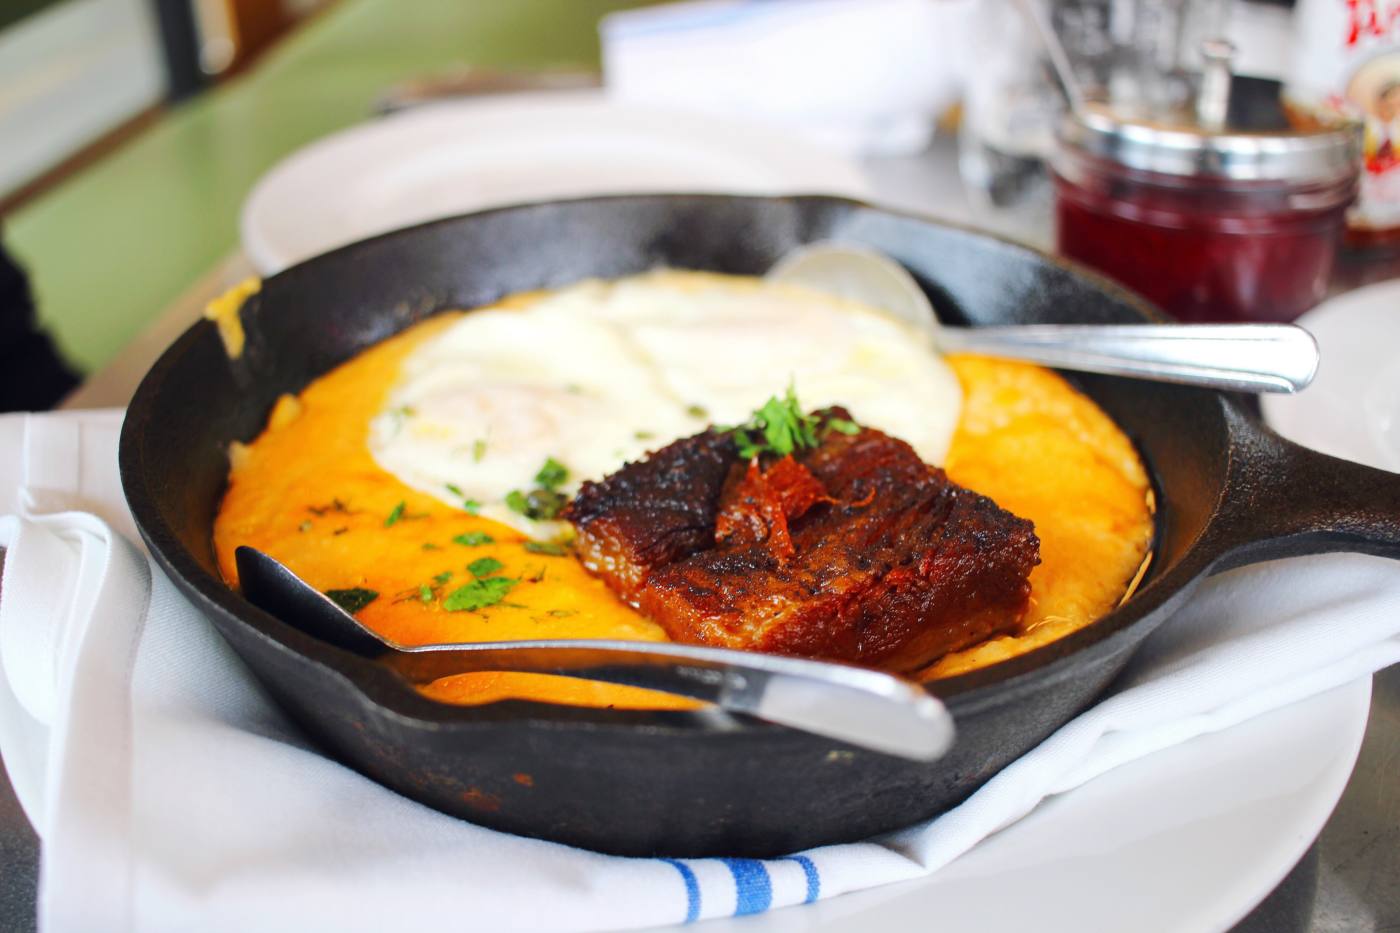
– On your way to grab lunch at Skillet Diner, say hello to the Fremont Troll.
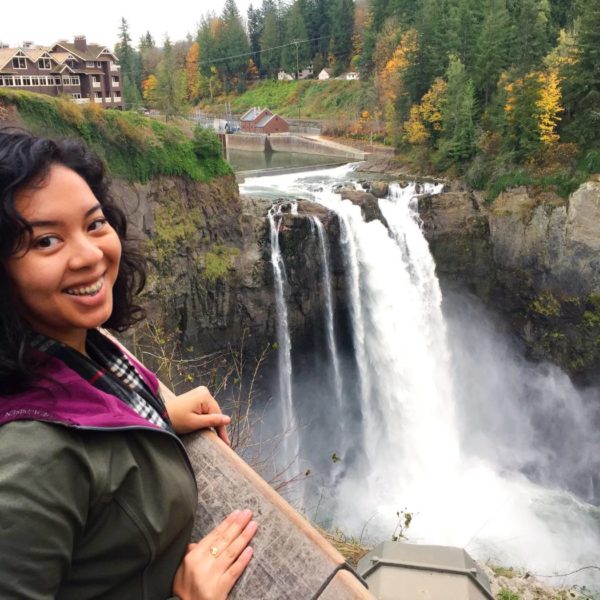
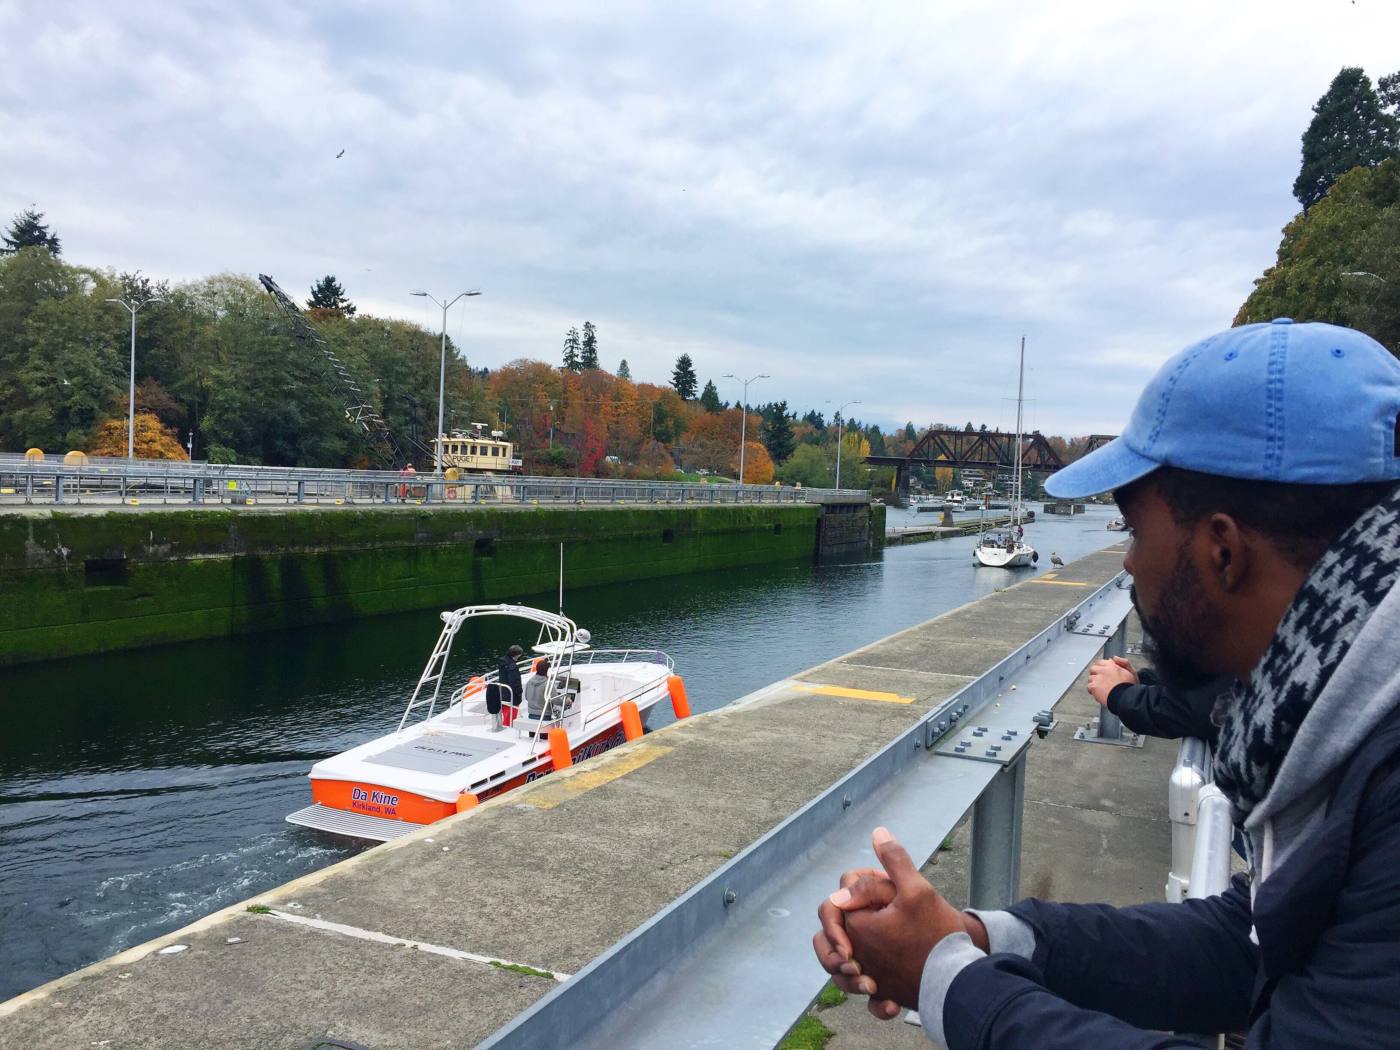
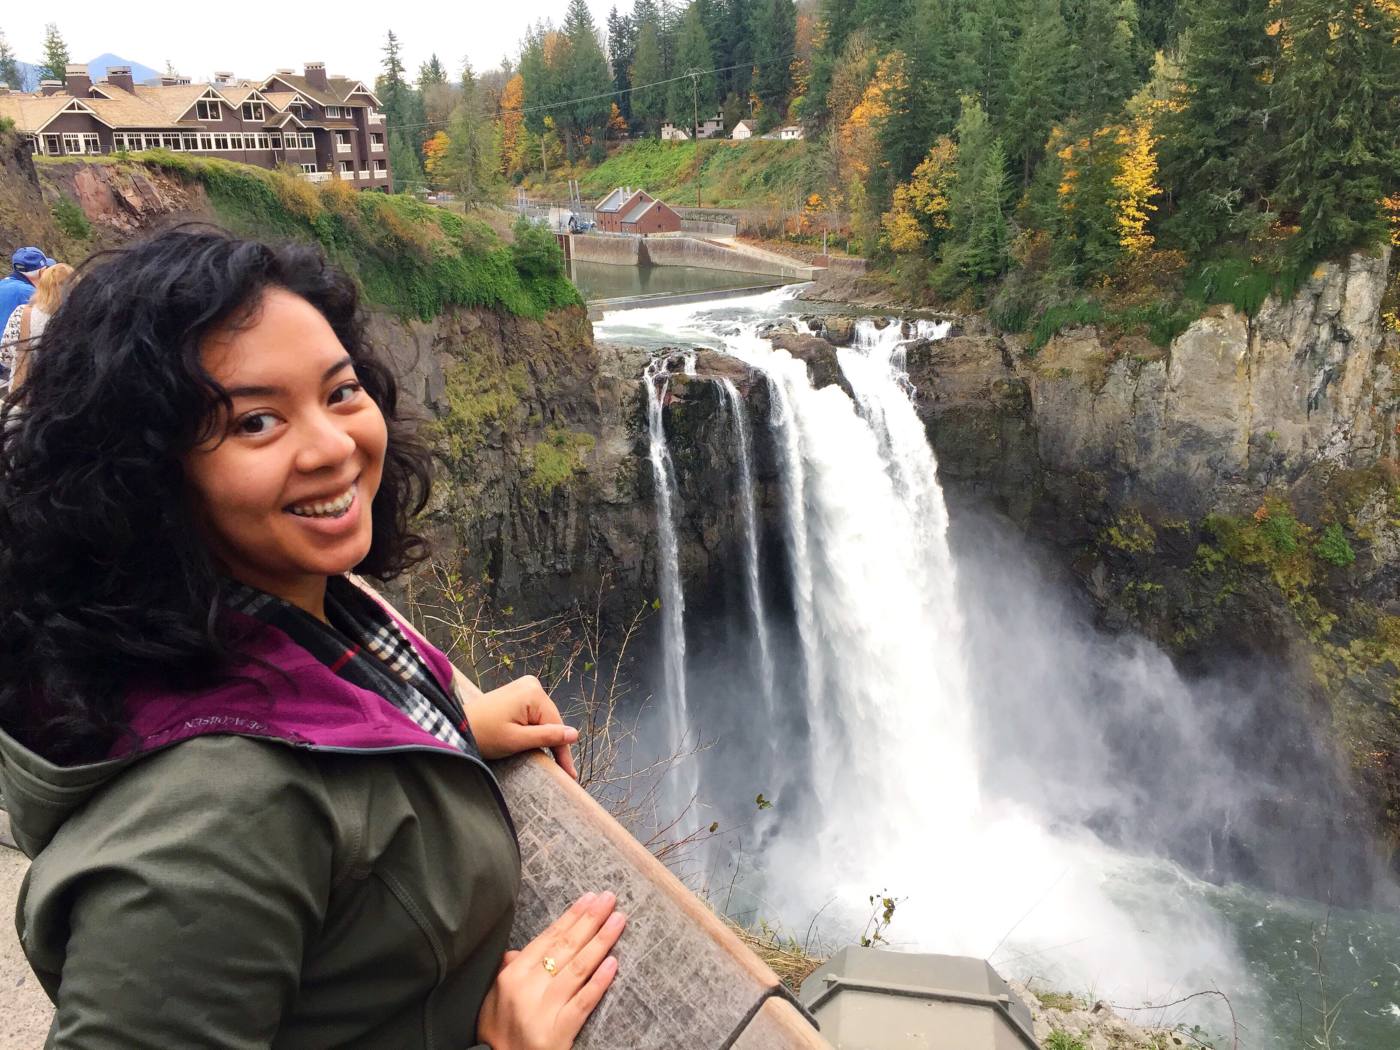
– Post lunch, check out the Ballard Locks and then make the 45 minute drive outside of Seattle to see the Snoqualmie Falls in action.
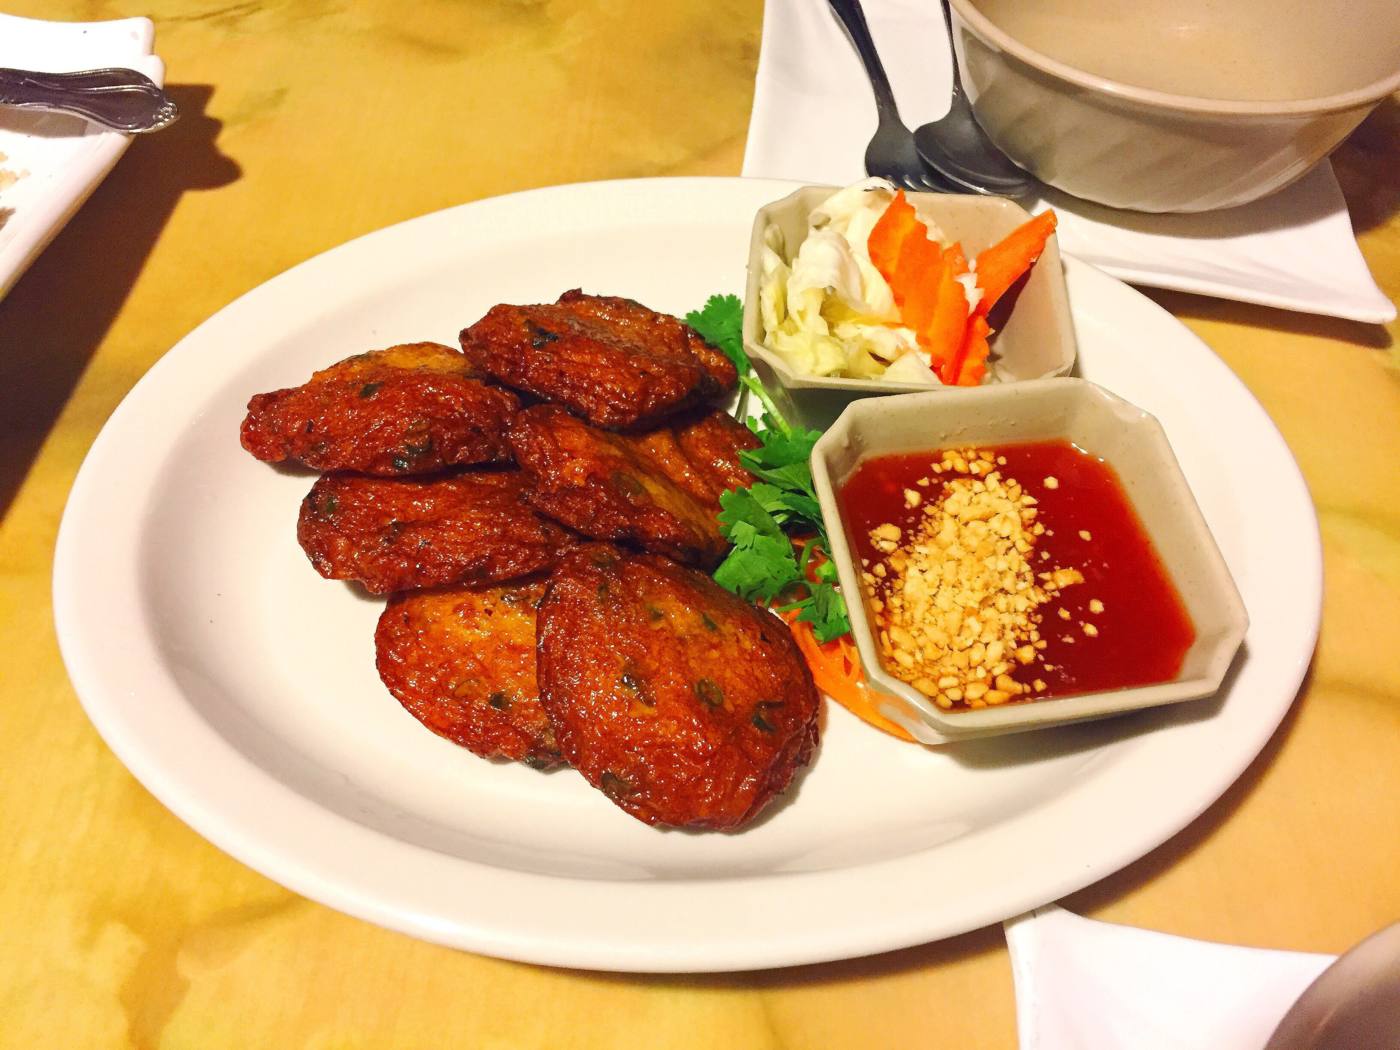
– After dropping off the car rental, hop on the Link Light Rail and make your way to the International District in Downtown Seattle to chow down on some authentic Cambodian food at Phnom Penh Noodle House.
*** More photos from our 3rd day in Seattle here and here.



Day 4:
– Sleep In
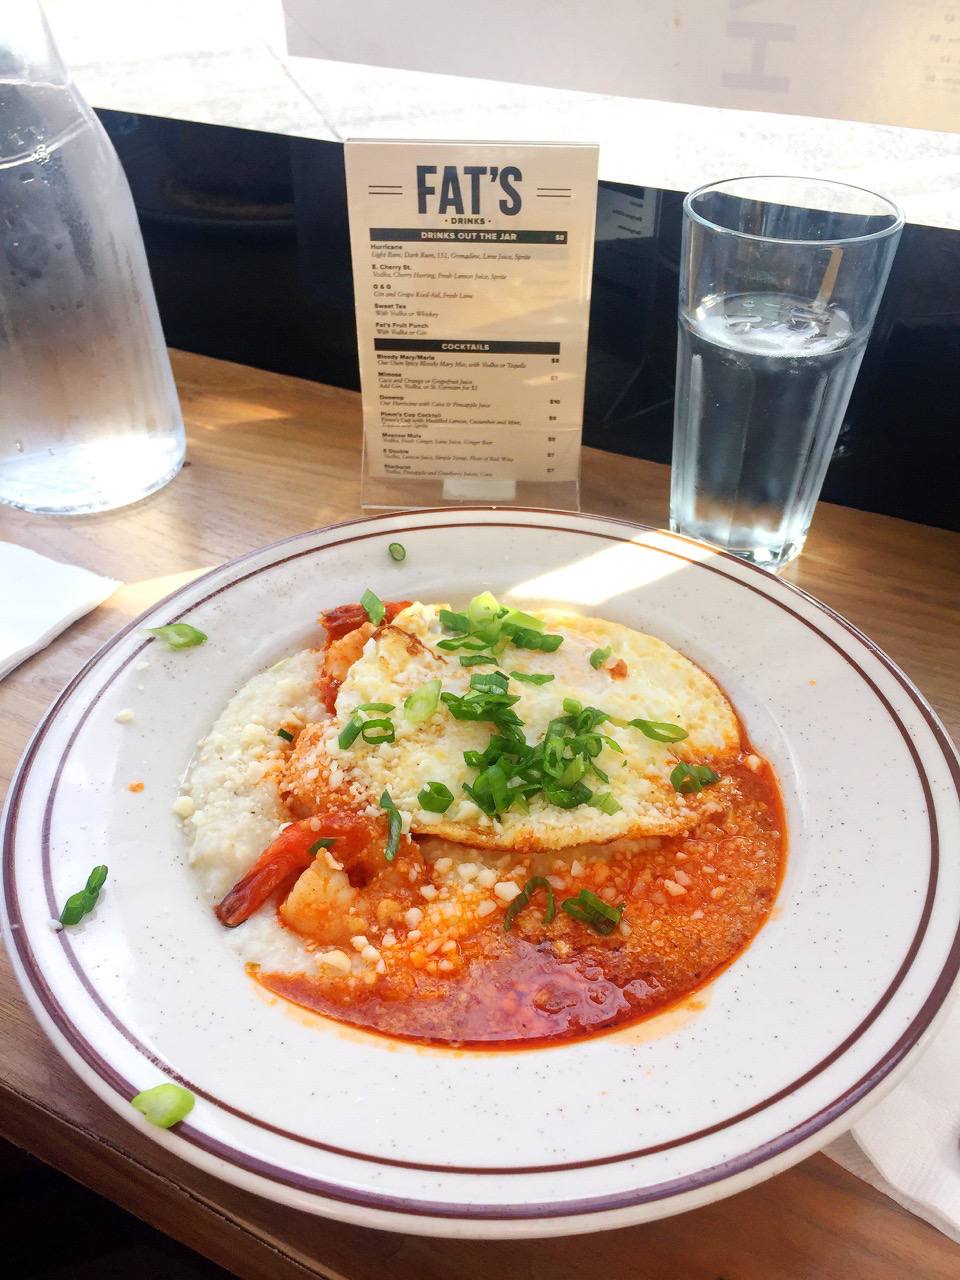
– Grab a late lunch at Fat’s Chicken and Waffles
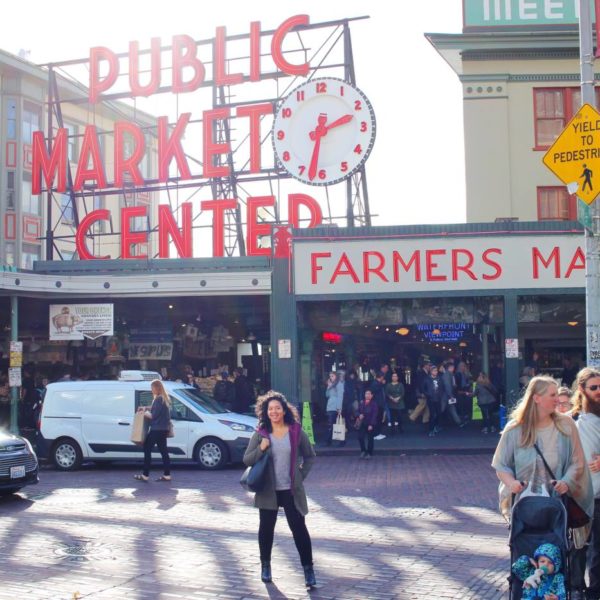
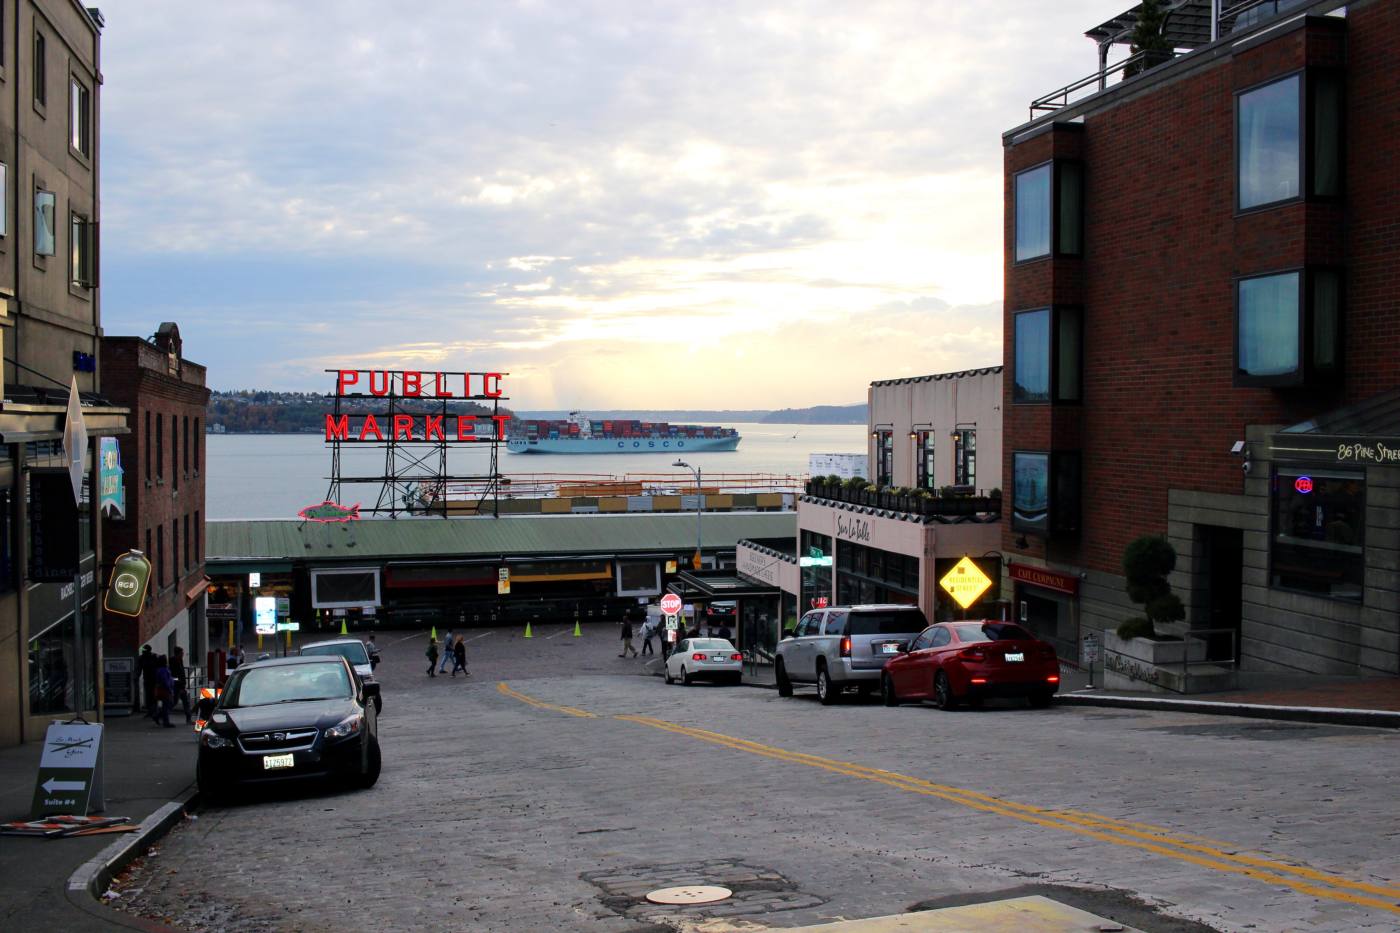
– Explore the local fare at Pike Place Market
– Behold the super gross yet must see Gum Wall
– Get your read on at the Seattle Public Library
– Head back the airbnb, order delivery and pack and rest up for an early flight back home the next day.
*** More details on our last day in Seattle here.
And now for the breakdown on our trip expenses.
Up Front Costs – Expenses Paid Before Going On Trip
Roundtrip Airfare From D.C. to Seattle for 2 people: $447 or about $224 per person. I booked the flights in March for October travel which felt a little early but when you see a good deal, you don’t pass it up.
Accommodations: $343 for 4 nights. Broken down, that’s $43 per night per person including taxes and cleaning fees. We stayed at this Airbnb studio apartment which was going for $65 a night at the time. When I recently check it again, I saw that the price of this spot has now gone up to $92 a night.
Car Rental: $102 for 2 days
Capilano Suspension Bridge Tickets: $65 total for 2 tickets
Total = $957
Daily Costs – Expenses Paid While On Trip
We gave ourselves a max daily spending budget of $100, a total of $400 for 4 days. We took out $400 in cash when we arrived in Seattle and only brought $100 out with us each day to help us keep track of expenses. Below is how we made out at the end of the trip.
Day 1: $89
Day 2: $58
Day 3: $60
Day 4: $76
Unexpected Costs:
International Phone Data Usage… Because we thought we had taken care of it but nope.
An hour after crossing the border into Canada, Charles received a text from Verizon stating that he had racked up $150 in international data fees (we were using his phone for GPS).
Let me repeat, $150 for ONE HOUR of data usage. O_O
Come to find out, the $2 a day international unlimited data plan with Verizon was only applied to my phone. Not Charles’s. Soooo yea, our hearts (and wallets) were hurting with that one.
As you can imagine, we immediately turned his phone off and used my phone for GPS for the rest of the day in Vancouver.
When we got back from Canada, we called Verizon to see if they would waive the charge but no such luck (I was a tad bit pissed) so we had to eat that expense.
Lesson Learned – Always double check to make sure the International Plan has been activated before you actually use your phone. Do not assume.
Grand Trip Total = About $1400 or $700 Per Person
Might seem like alot for anyone interested in traveling to Seattle from the East Coast but when you think about it – $1400 equates to saving about $156 for 9 months, $117 for 12 months or $78 for 18 months which feels more feasible when broken down and is how I approach saving for travel.
Hope you find this expense breakdown helpful!
With that said, I am officially officially done recapping our Seattle trip! Woot woot!
Have you ever visited Seattle? If so, what would you recommend eating, seeing or doing that Charles and I didn’t get to on our recent trip there? Let me know in the comments below :)
P.S. In case you’re interested, I wrote about how I make travel happen mentally here and financially here.
P.P.S. Linking up w/ Wanderful Wednesday
